Portland Guitar Co. | Portland Oregon | Contact Jay Dickinson-503.245.3276 | jay@portlandguitar.com
Portland Guitar Pretty Good Intonation (PGPG) System
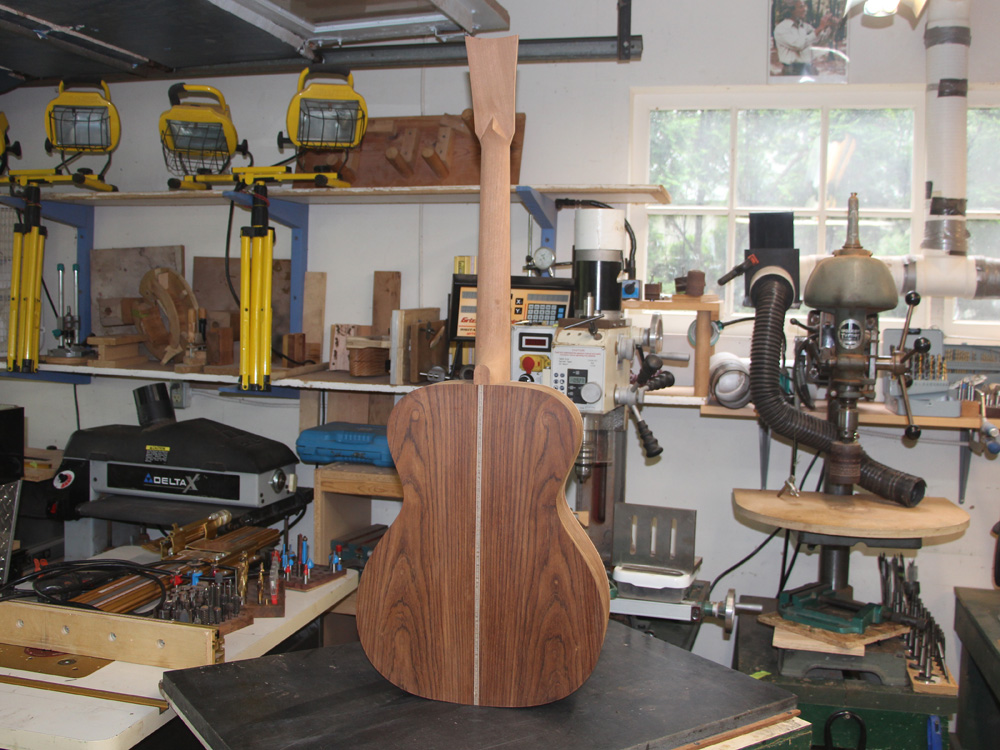
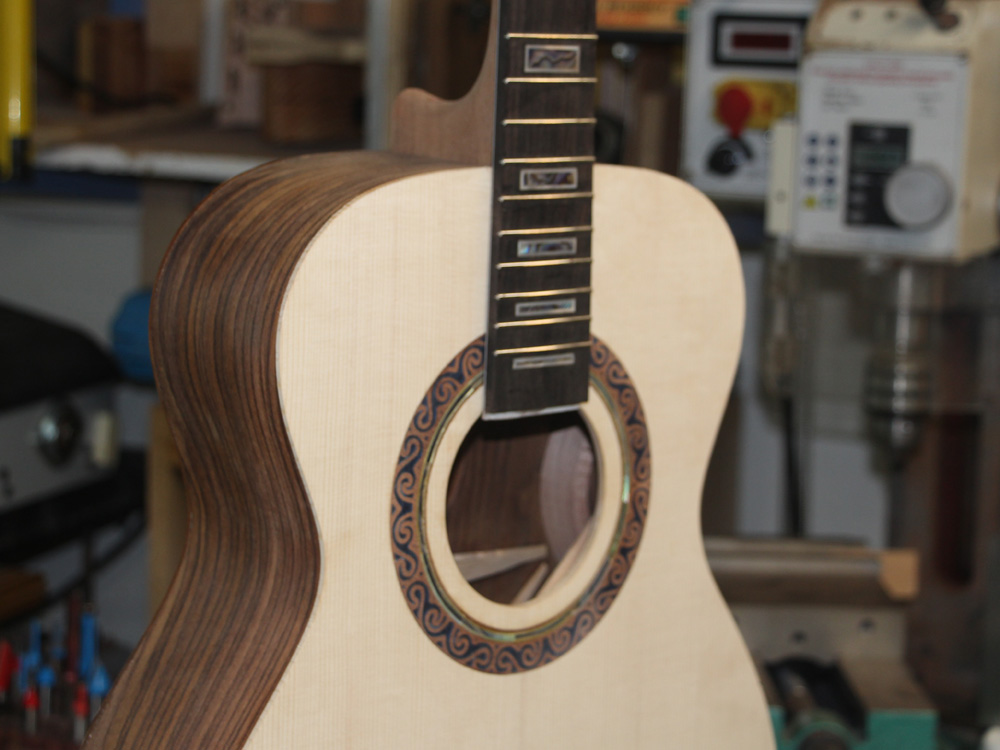
Finished Build
Orchestral Model
OM 2.13.60
- Body: Cocobolo
- Top: Adirondack Spruce
- Neck: Honduran Mahogany
- Binding: Macassar Ebony
Page 5
 ( 136 ) 16-June-2014
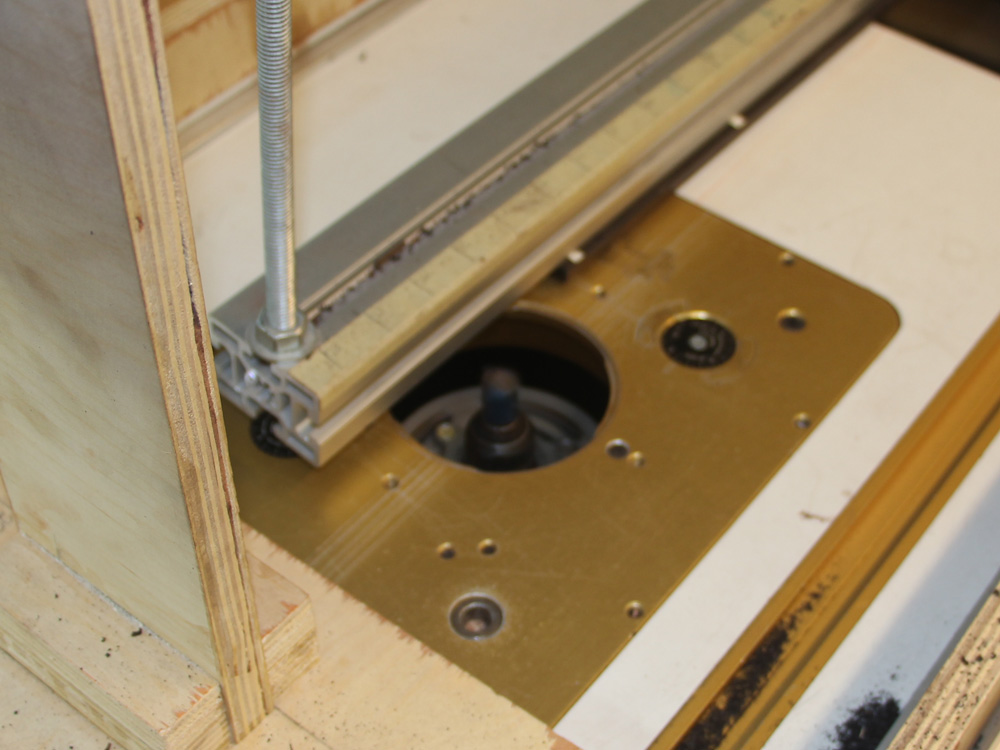
This contraption - of my own design - is used to carve a compound radius fretboard. The two arms of unequal length force the connecting bar to sweep out a conic section.
A radiused fretboard improves comfort when fretting the strings - particularly when making barre chords, and a compound radius fretboard prevents a string from bottoming out on the next fret up as it is being bent. Rather than cutting the fretboard from a section of a constant radius tube, a compound radius fretboard is cut from a section of a cone, so the radius changes over the length of the fretboard.
 ( 137 ) 16-June-2014
The sled moves the fretboard blank, attached to the bottom of the beam, over the router bit as the beam is swept back and forth. By adjusting the length of the two arms a compound radius of any size can be created. In this case at the 12th fret the radius is ~ 16 inches at the nut radius is ~ 12.75 inches, and at the 20th fret the radius is ~ 17.25 inches.
 ( 138 ) 16-June-2014
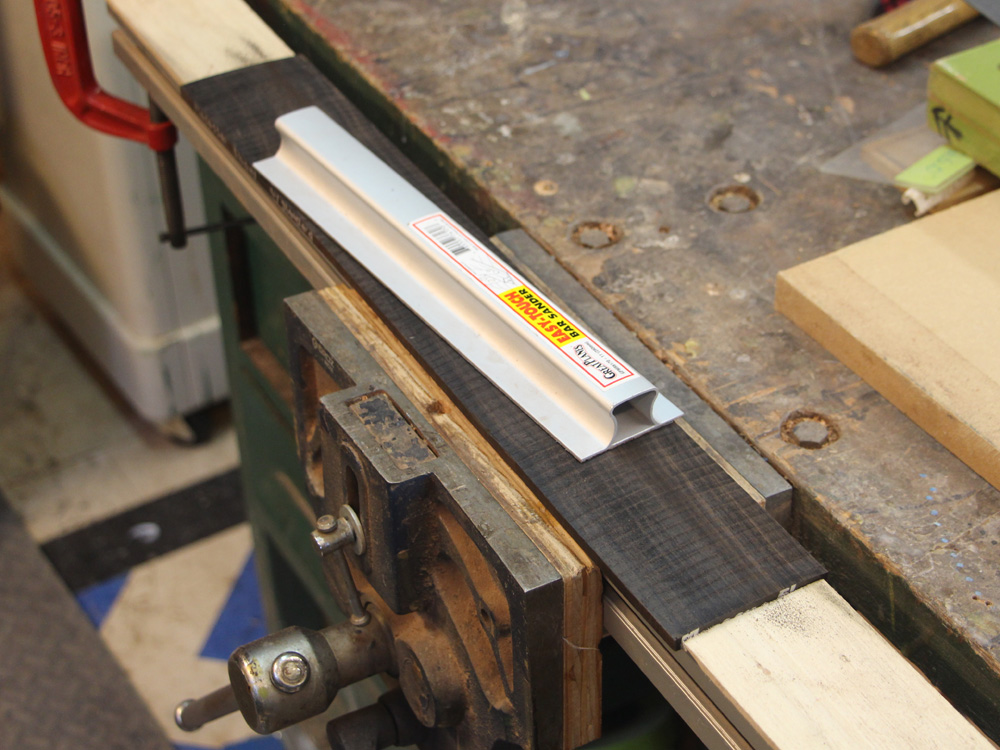
I use a very flat sanding block to remove the tooling marks from the fretboard blank.
 ( 139 ) 16-June-2014
And then I use a straight edge and a feeler gauge to check how straight it is. I work to have the surface straight along the length to with in plus or minus 1 mil. This degree of precision pays dividends in avoiding high or low frets when the guitar is strung up.
 ( 140 ) 16-June-2014
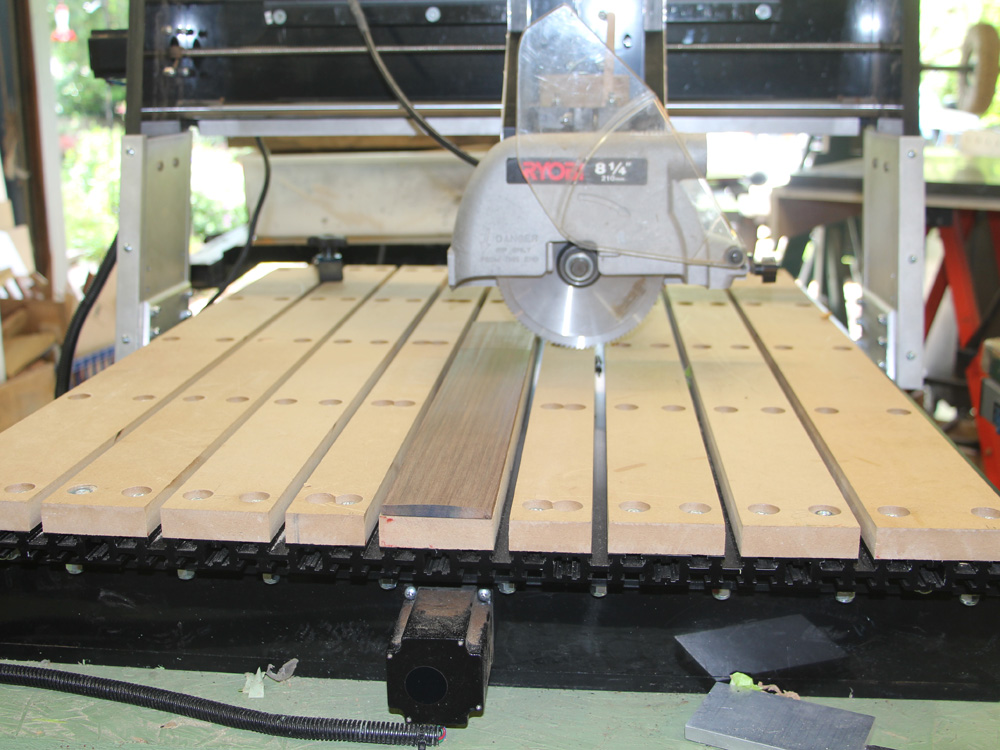
I have started to use my CNC Tool with a crosscut saw attached to cut the fret slots.
 ( 141 ) 16-June-2014
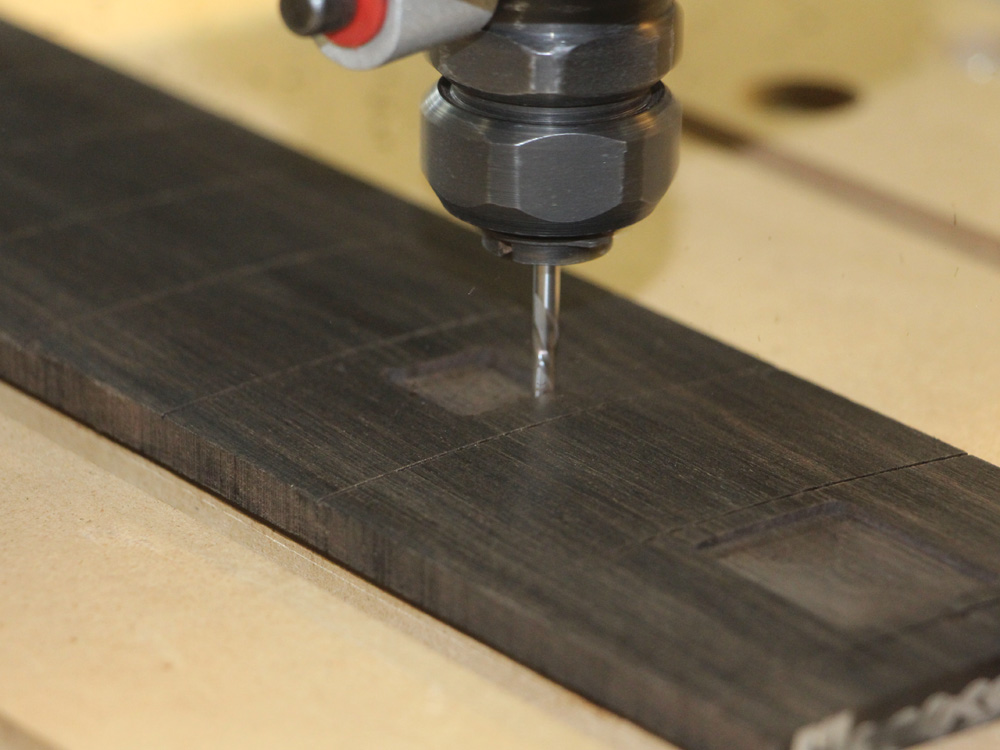
And then I use it again to route out the channels in the fretboard blank for the shell fret markers.
 ( 142 ) 16-June-2014
After the shell is installed they are leveled with the surface of the fretboard.
 ( 143 ) 16-June-2014
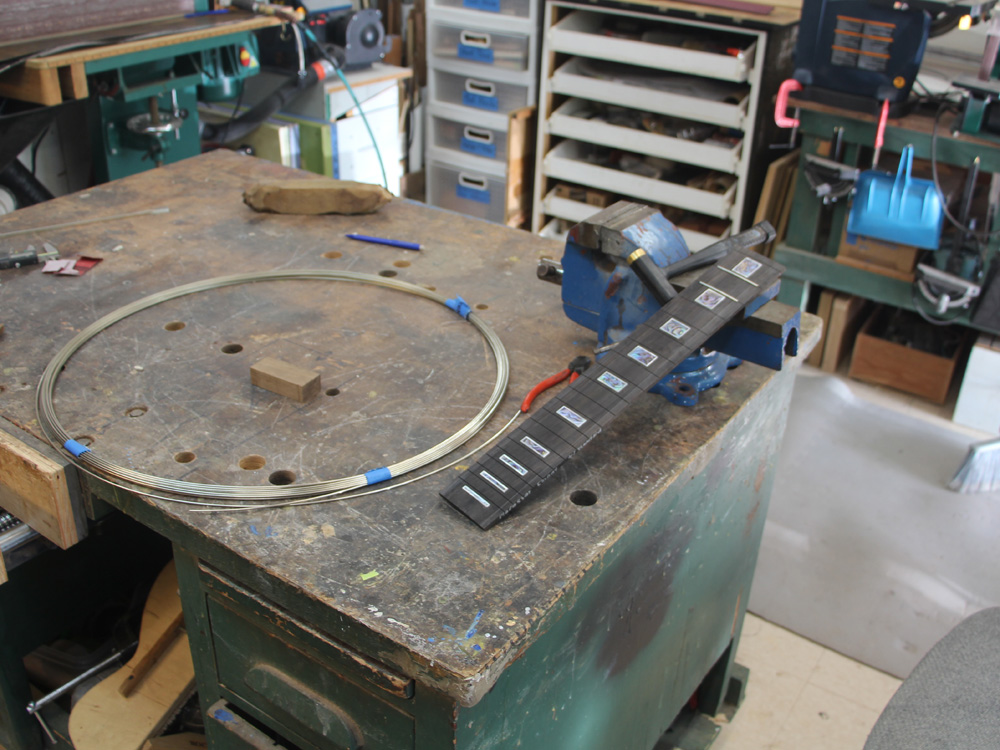
This is the tool set for installing the fret wire.
 ( 144 ) 16-June-2014
I cut each piece of fretwire to length and then carefully force them into the slots with a special brass hammer.
 ( 145 ) 16-June-2014
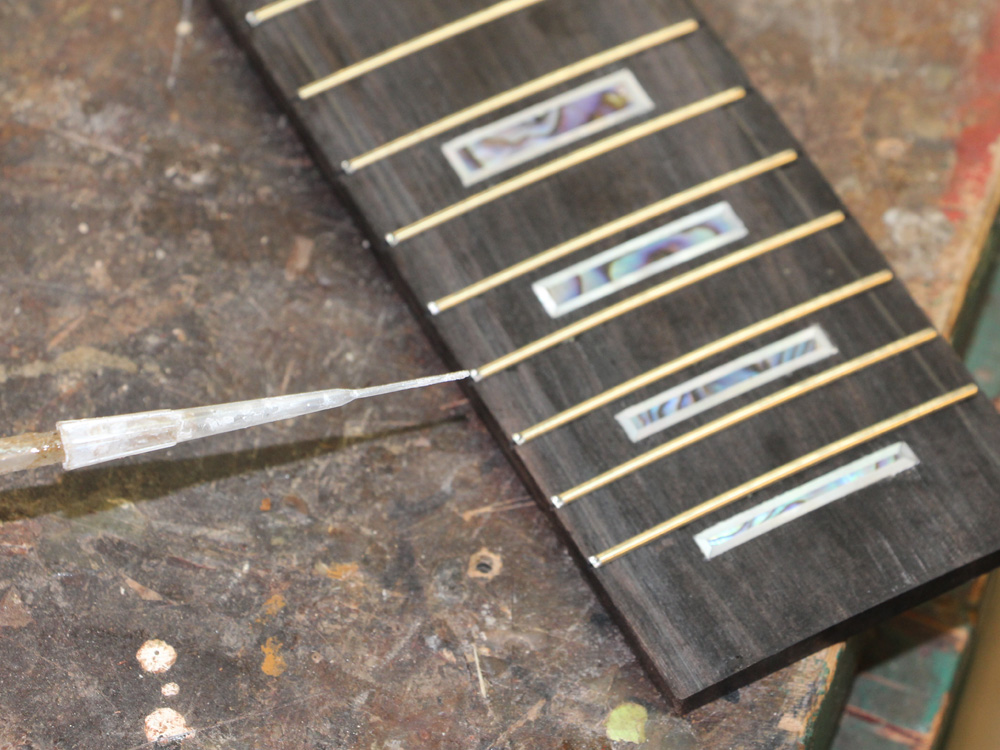
I use a few drops of glue to make sure the fretwire stays firmly in the slots.
 ( 146 ) 16-June-2014
 ( 147 ) 16-June-2014
Now with the thickness of the fretboard and headstock veneer set, I turn my attention to leveling the back side of the neck blank.
 ( 148 ) 16-June-2014
I use my milling machine to make the back side of the headstock parallel to the top side. With the veneer added the head stock will be ~0.6 inches deep. This will accommodate for a counter sunk washer on the machine post.
 ( 149 ) 16-June-2014
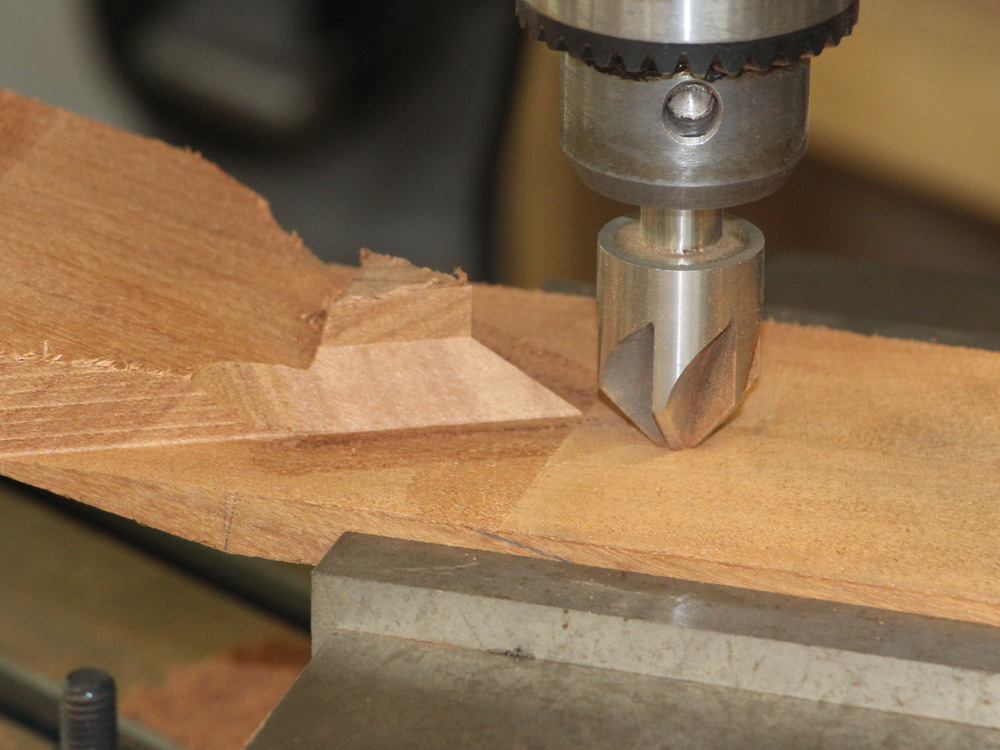
I use this beveling bit to shape the sides of the - purely decorative - volute.
 ( 150 ) 16-June-2014
This 1/4-20 wood insert is used to attach the neck to body and hold it in place when the strings are removed. I call it the "feel good bolt" because it will feel good if the neck doesn't flop around when the strings are removed. With the strings in place there is ~160 : 180 pounds of force from the string tension holding neck to the body.
 ( 151 ) 16-June-2014
Now I can mount the neck blank on this routing template.
 ( 152 ) 16-June-2014
I use the routing table and a big long bit to route the shape of the heel of the neck
 ( 153 ) 16-June-2014
The aluminum tube sucks away the copious sawdust.
 ( 154 ) 16-June-2014
The resulting heel will neatly slip into the heel channel in the body of the guitar. This lets me cleanly hide all of the attachment/adjustment hardware.
 ( 155 ) 16-June-2014
I use a "zero line width" technique to cut the fretboard to shape. I start by laying a piece of tape across the width of the fretboard and then cutting it with an exacto knife to the exact width I am after. This lets me set the width and center line before I start to cut.
 ( 156 ) 16-June-2014
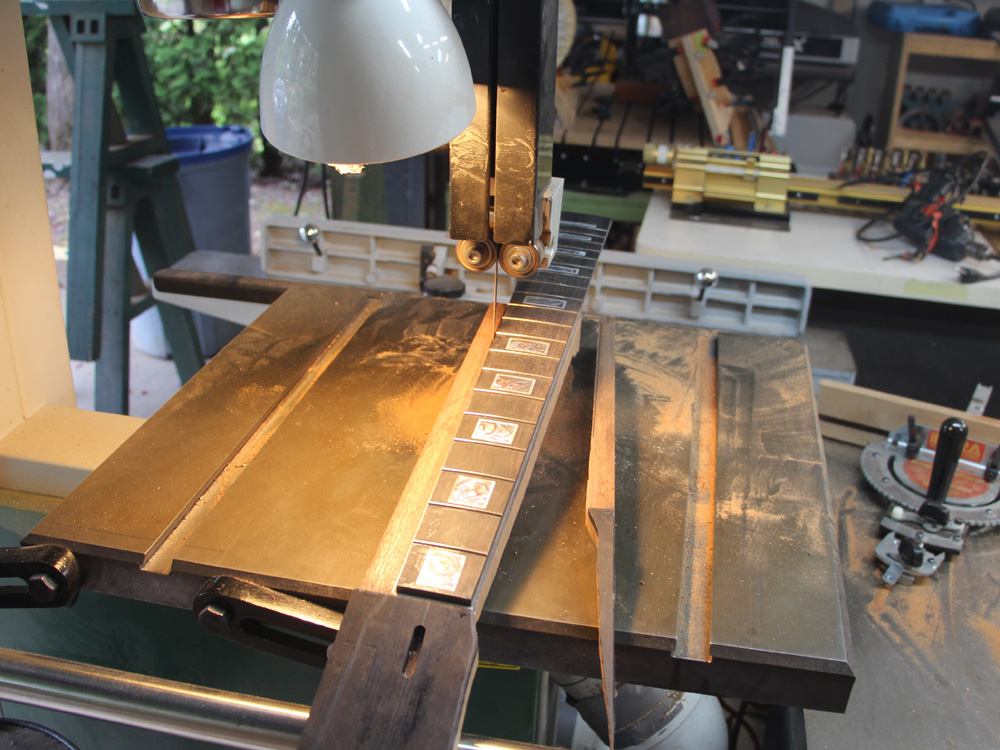
I then trim most of the excess off with the band saw.
 ( 157 ) 16-June-2014
And then use the belt sander to trim off the rest.
 ( 158 ) 16-June-2014
When there is no more wood between the tape and the edge of the fretboard I stop. This technique lets be do all of the measuring before I start to cut so I can check and recheck and make any corrections before things get busy.
 ( 159 ) 16-June-2014
And then I trim the end of the fretboard to length.
 ( 160 ) 16-June-2014
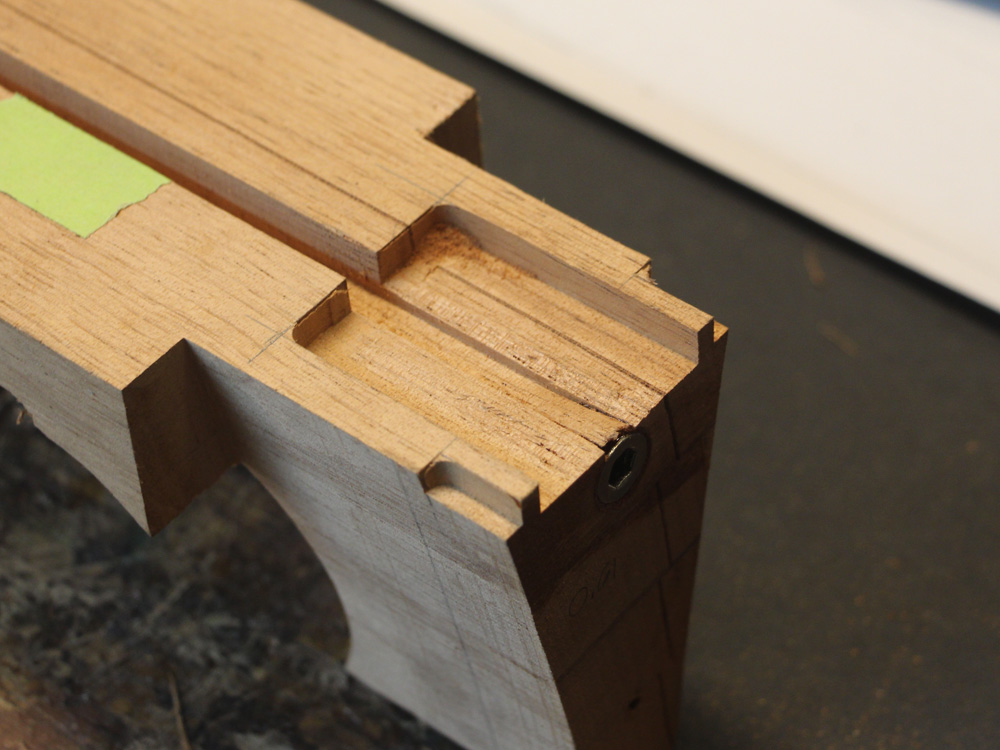
Here I am using the milling machine to create the rest of the channels in the heel. The large channel will hold the cantilevered fretboard support plate, and the small channels are used to hide the seam between the top of the guitar and the fretboard.
 ( 161 ) 16-June-2014
 ( 162 ) 16-June-2014
Here I am cutting the access hole in the headstock veneer for the truss rod adjustment..
 ( 163 ) 16-June-2014
The cantilevered fretboard support plate in place.
 ( 164 ) 16-June-2014
To create a set of pin stripes along the edge of the fretboard I laminate two sheets to the bottom. Here I am scraping the edge to the fretboard profile.
 ( 165 ) 16-June-2014
When I glue the fretboard to the neck blank I use a set of fiducial buttons to register its position. Once again, this lets me do all of my measuring before the glue starts to set up. It turns out glue is slippery when it's wet so it is easy to have the fretboard move out of position as the clamps are applied. The fiducial buttons hold it in place. Here I have drilled a hole and inserted a small length of dowel.
 ( 166 ) 16-June-2014
I put a small drop of glue on the end of the dowel. When I position the fretboard in place the dowel sticks to the bottom of the fretboard. Now I can reposition the fretboard without having to make any measurements... a trick thing to do when there is sticky glue everywhere.
 ( 167 ) 16-June-2014
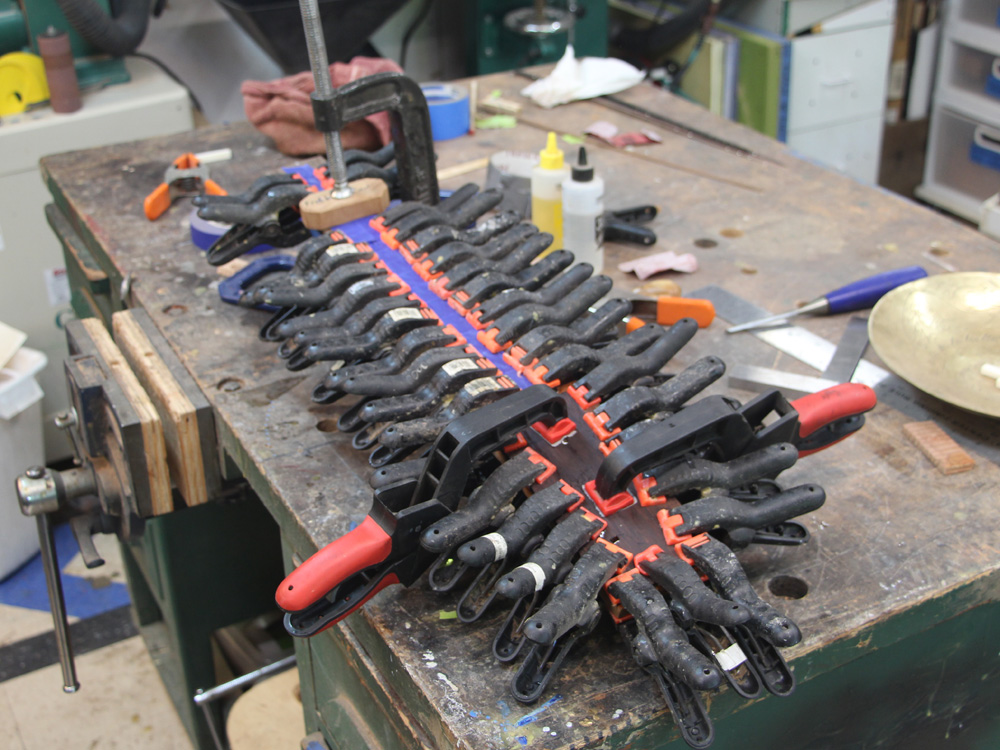
Here I have applied glue to the top of the neck blank.
 ( 168 ) 16-June-2014
And lots of clamps press the fretboard into place.
 ( 169 ) 16-June-2014
 ( 170 ) 16-June-2014
I this picture I am using the miter saw to cut a 3 degree bevel into the back side if the heel. This will allow free motion of the neck inside the heel channel as the action is adjusted.
 ( 171 ) 16-June-2014
I have inserted a sharpened set screw in the neck adjustment wood insert.
 ( 172 ) 16-June-2014
Then I press the neck assembly into place.
 ( 173 ) 16-June-2014
And when I pull it out I have a mark to show me where to drill the hole for the adjustment hardware.
 ( 174 ) 16-June-2014
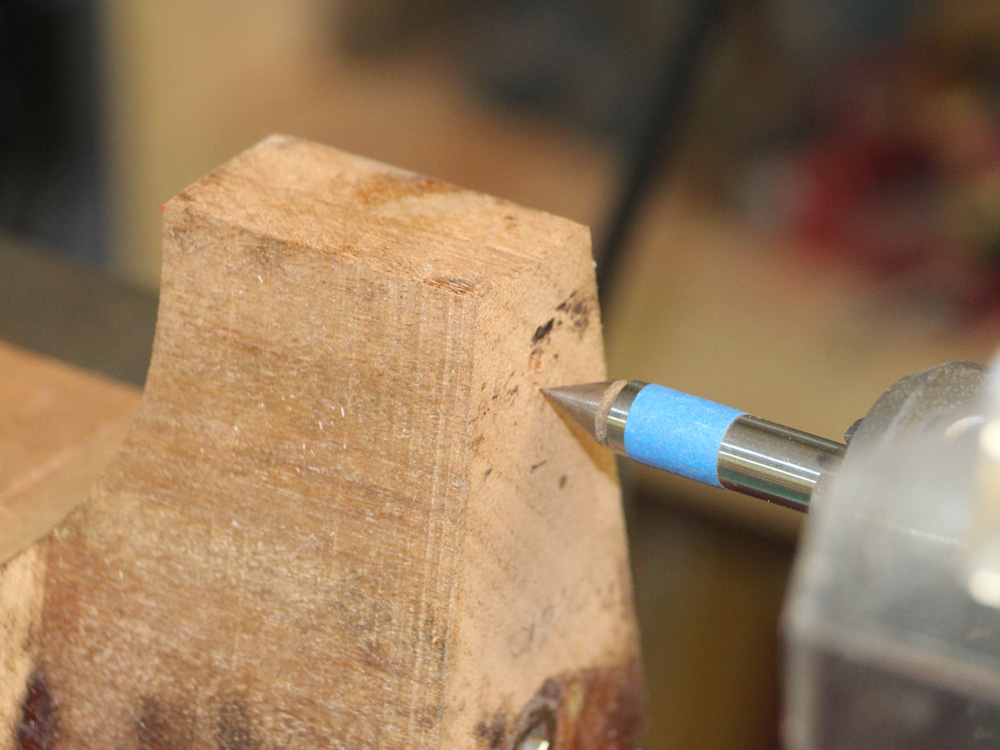
Mounting the neck in the milling machine I use a pointer to line up the tool.
 ( 175 ) 16-June-2014
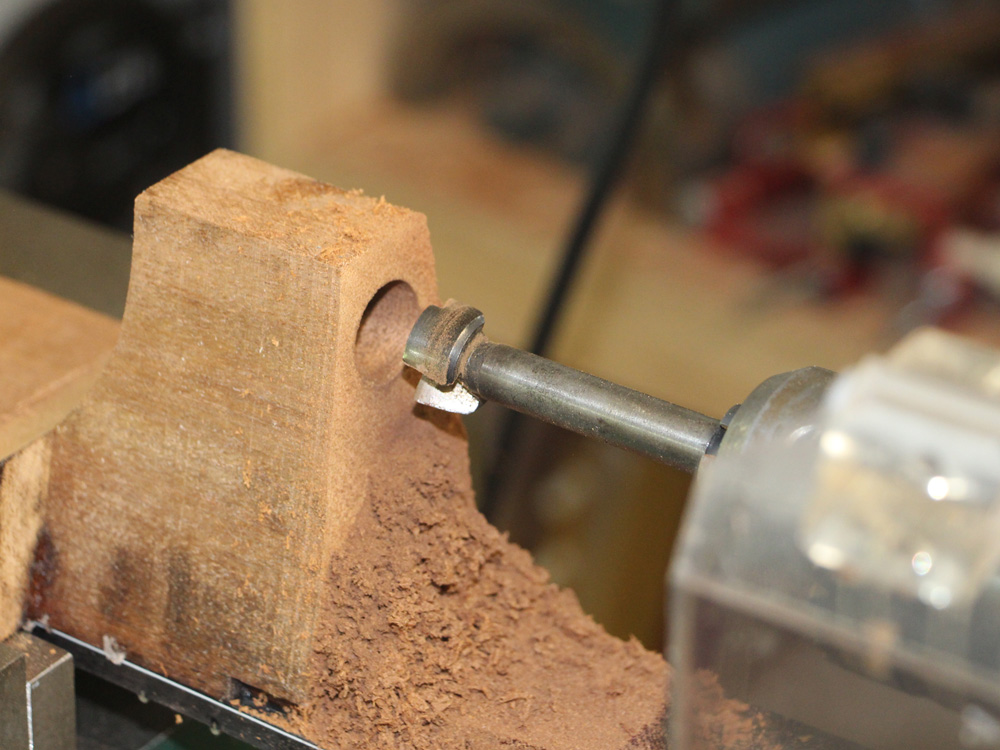
Then I drill a 3/4 inch hole 0.70 inches deep.
 ( 176 ) 16-June-2014
Then, changing drill bits I drill a smaller hole all of the way through. This hole will allow access for the neck adjustment tool.
 ( 177 ) 16-June-2014
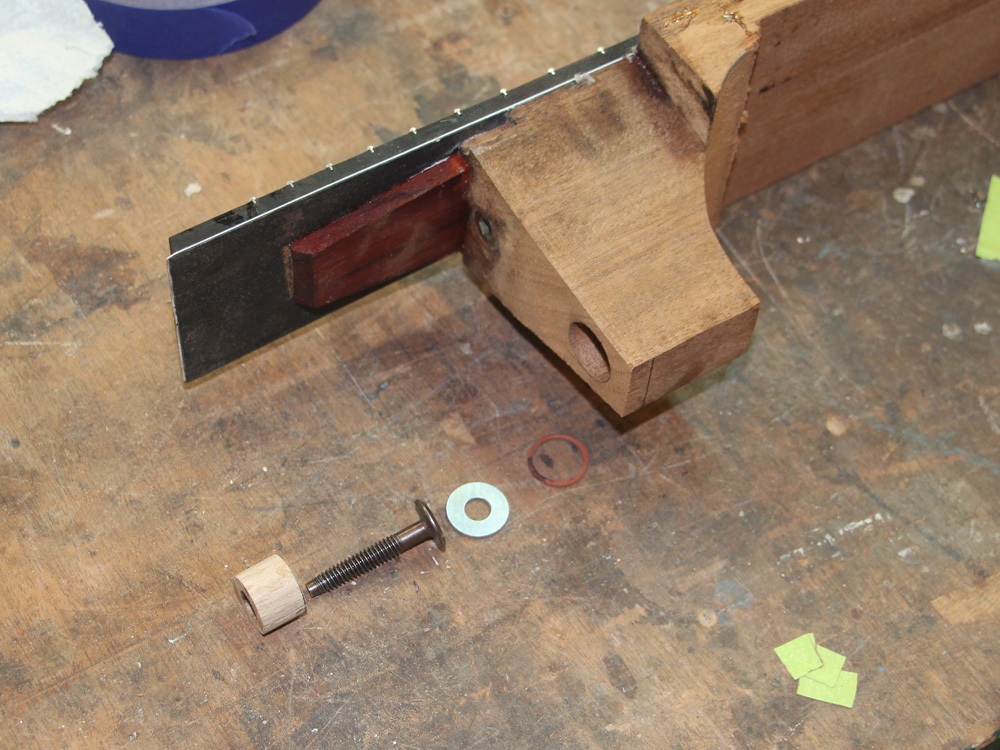
Here I have lined up the neck adjustment hardware. The o-ring allows for a little bit of compression so the neck will not rattle around when the strings are removed, and the large flange on the left holds the bolt in place.
 ( 178 ) 16-June-2014
 ( 179 ) 16-June-2014
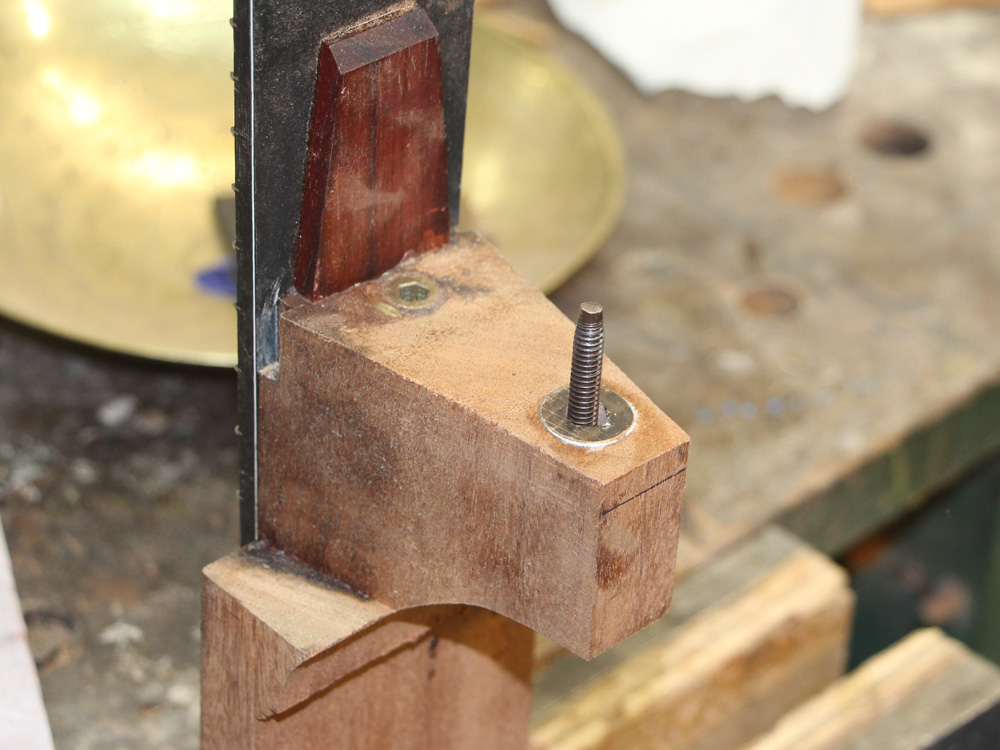
From the string tension, the retaining flange will have about 45 lbs of force acting on it pulling it out of the hole, so I install two vertical retaining pins to hold it in place. Here I am drilling the holes for the retaining pins.
 ( 180 ) 16-June-2014
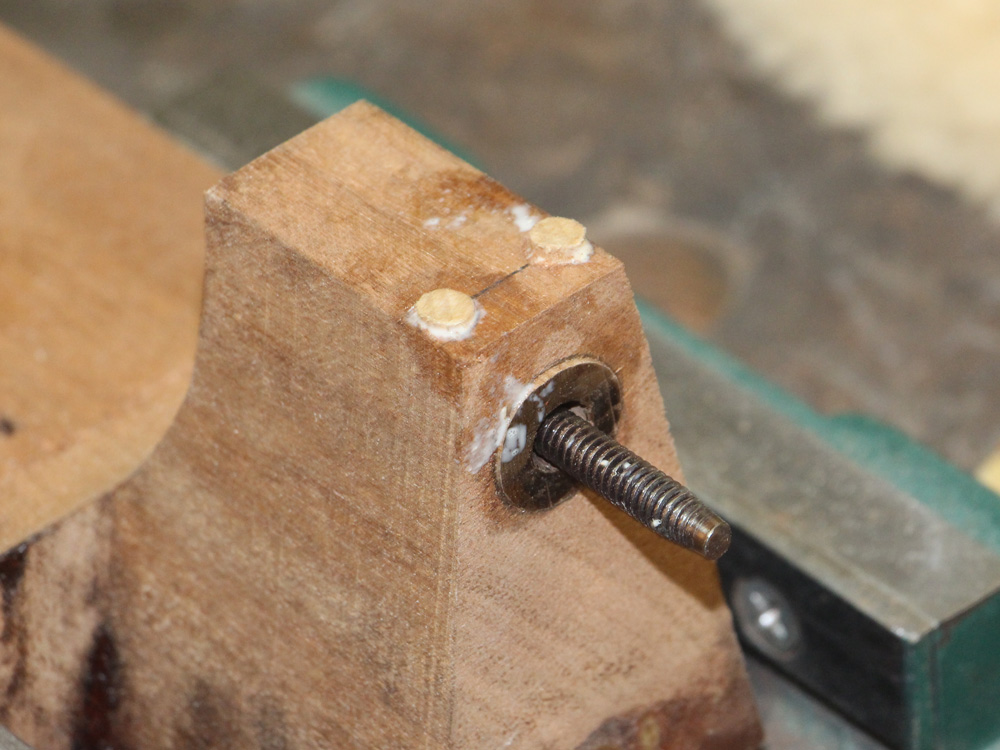
The retaining pins intersect the side of the flange holding it firmly in place.
 ( 181 ) 16-June-2014
Now I trim off the excess of the neck assembly with the bandsaw.
 ( 182 ) 16-June-2014
And then use the router table to finish the job. Here I am using a template taped to the headstock as a guide.
 ( 183 ) 16-June-2014
And the edge of the fretboard guides the bit along the length of the neck.
 ( 184 ) 16-June-2014
Before I start to shape the neck I mask off all of the areas that I don't want shaped.
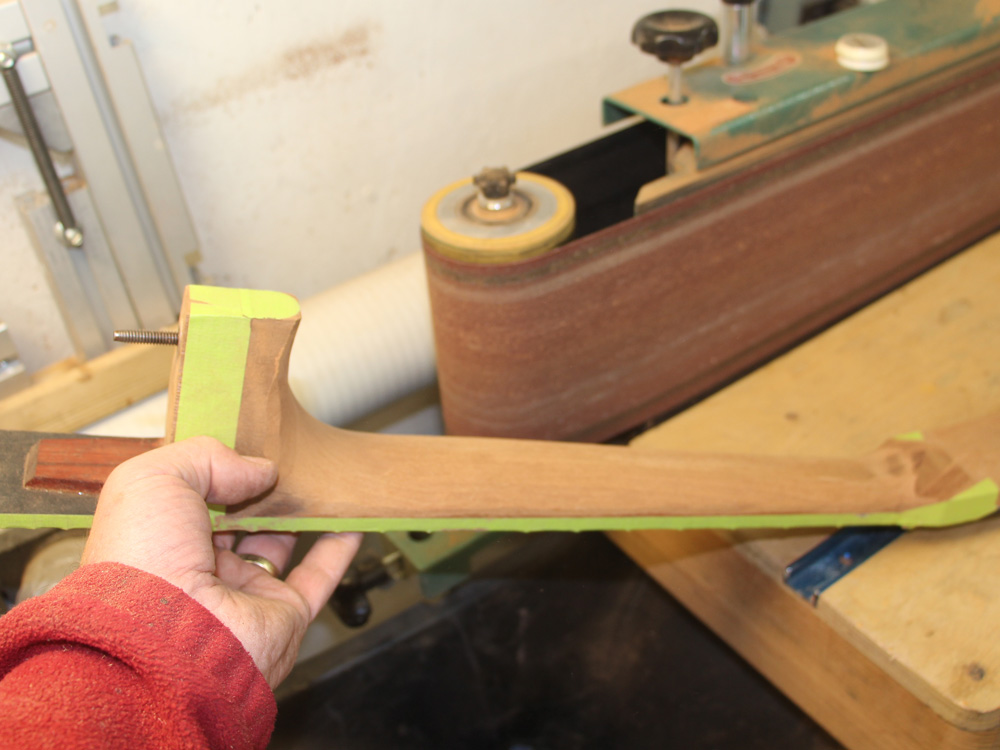 ( 185 ) 16-June-2014
And then I use a variety off tools to shape the neck. I work very slowly and remove only a little bit at a time. It is easier to remove wood than to put it back.
 ( 186 ) 16-June-2014
This process is a lot like sculpture, however with a great deal of precision. Here I am using a contour-gauge array to help me visualize the cross sectional shape of the neck as I work on it. I also spend a lot of time going over it with the tips of my fingers.
 ( 187 ) 16-June-2014
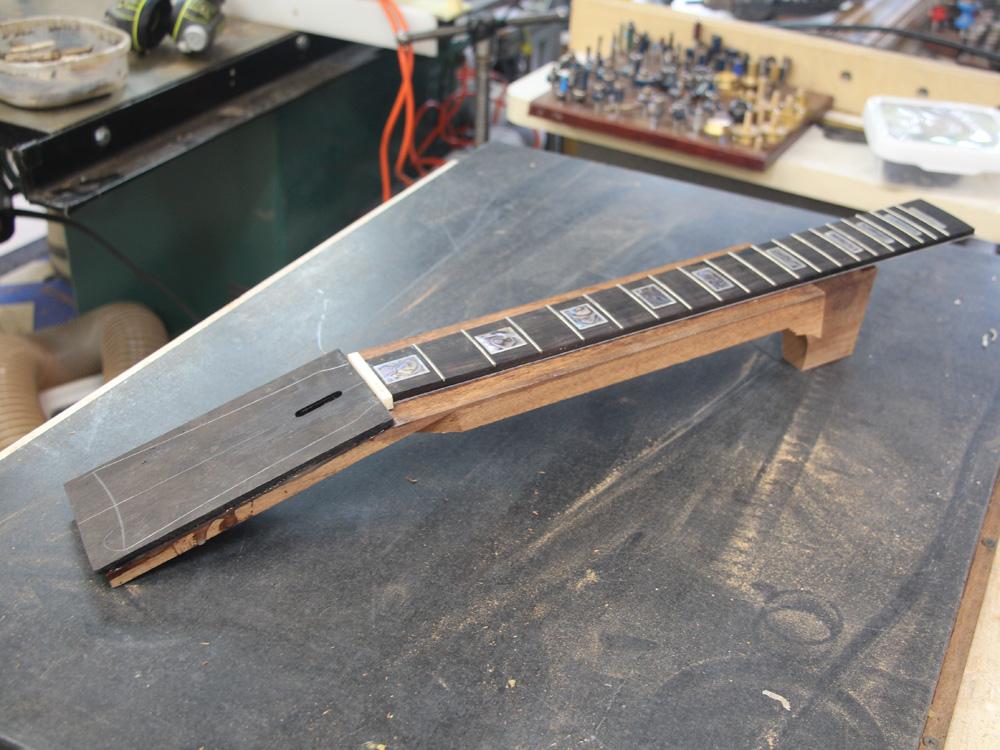
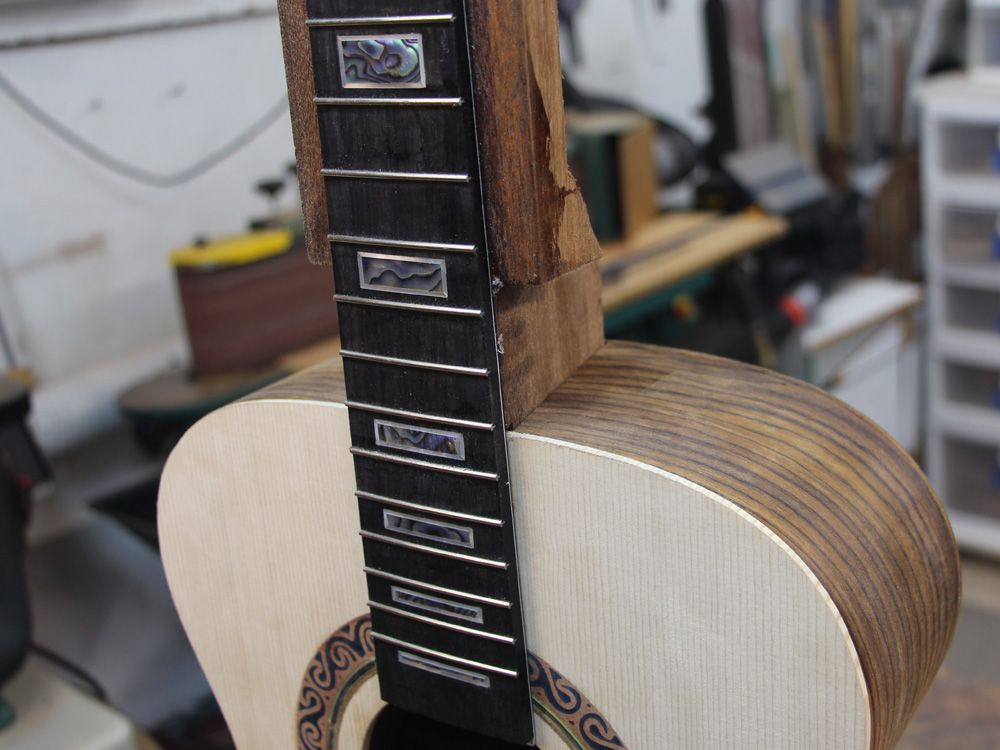
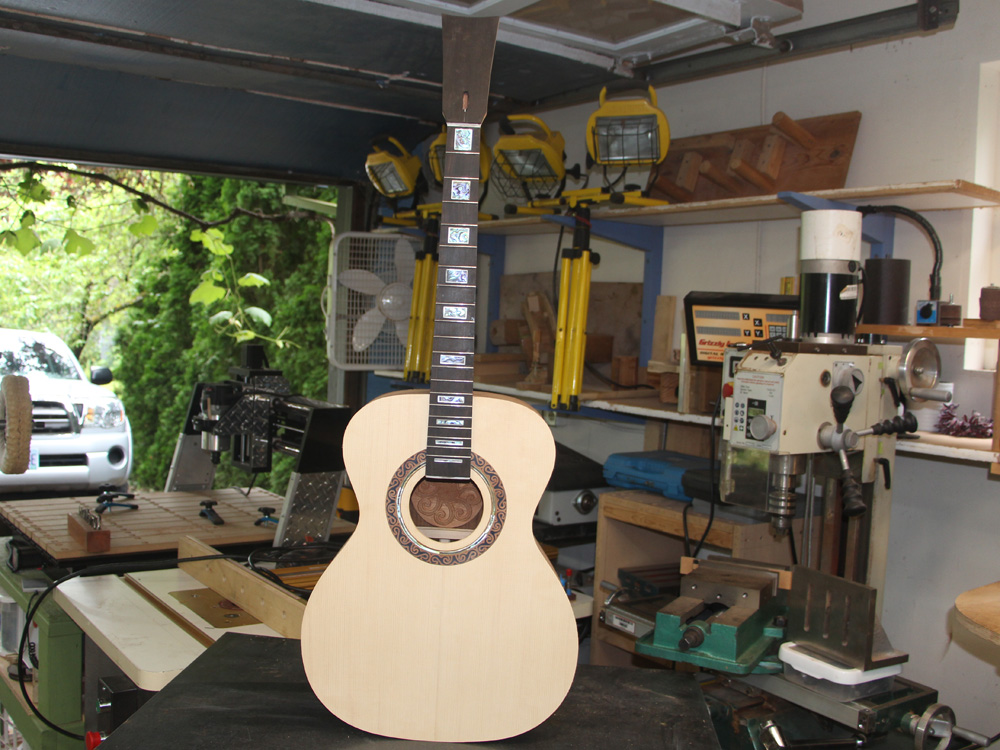
Starting to look like a guitar.
 ( 188 ) 16-June-2014
 ( 189 ) 16-June-2014
 ( 190 ) 16-June-2014
 ( 191 ) 16-June-2014
 ( 192 ) 16-June-2014
Description